dm-astro.uk - David Moscrop Astrophotography
  • Observations
  • Equipment
  • Workflow
Stage 1
Long-Exposure Observation (The Capture)

Long-Exposure Observation (The Capture)

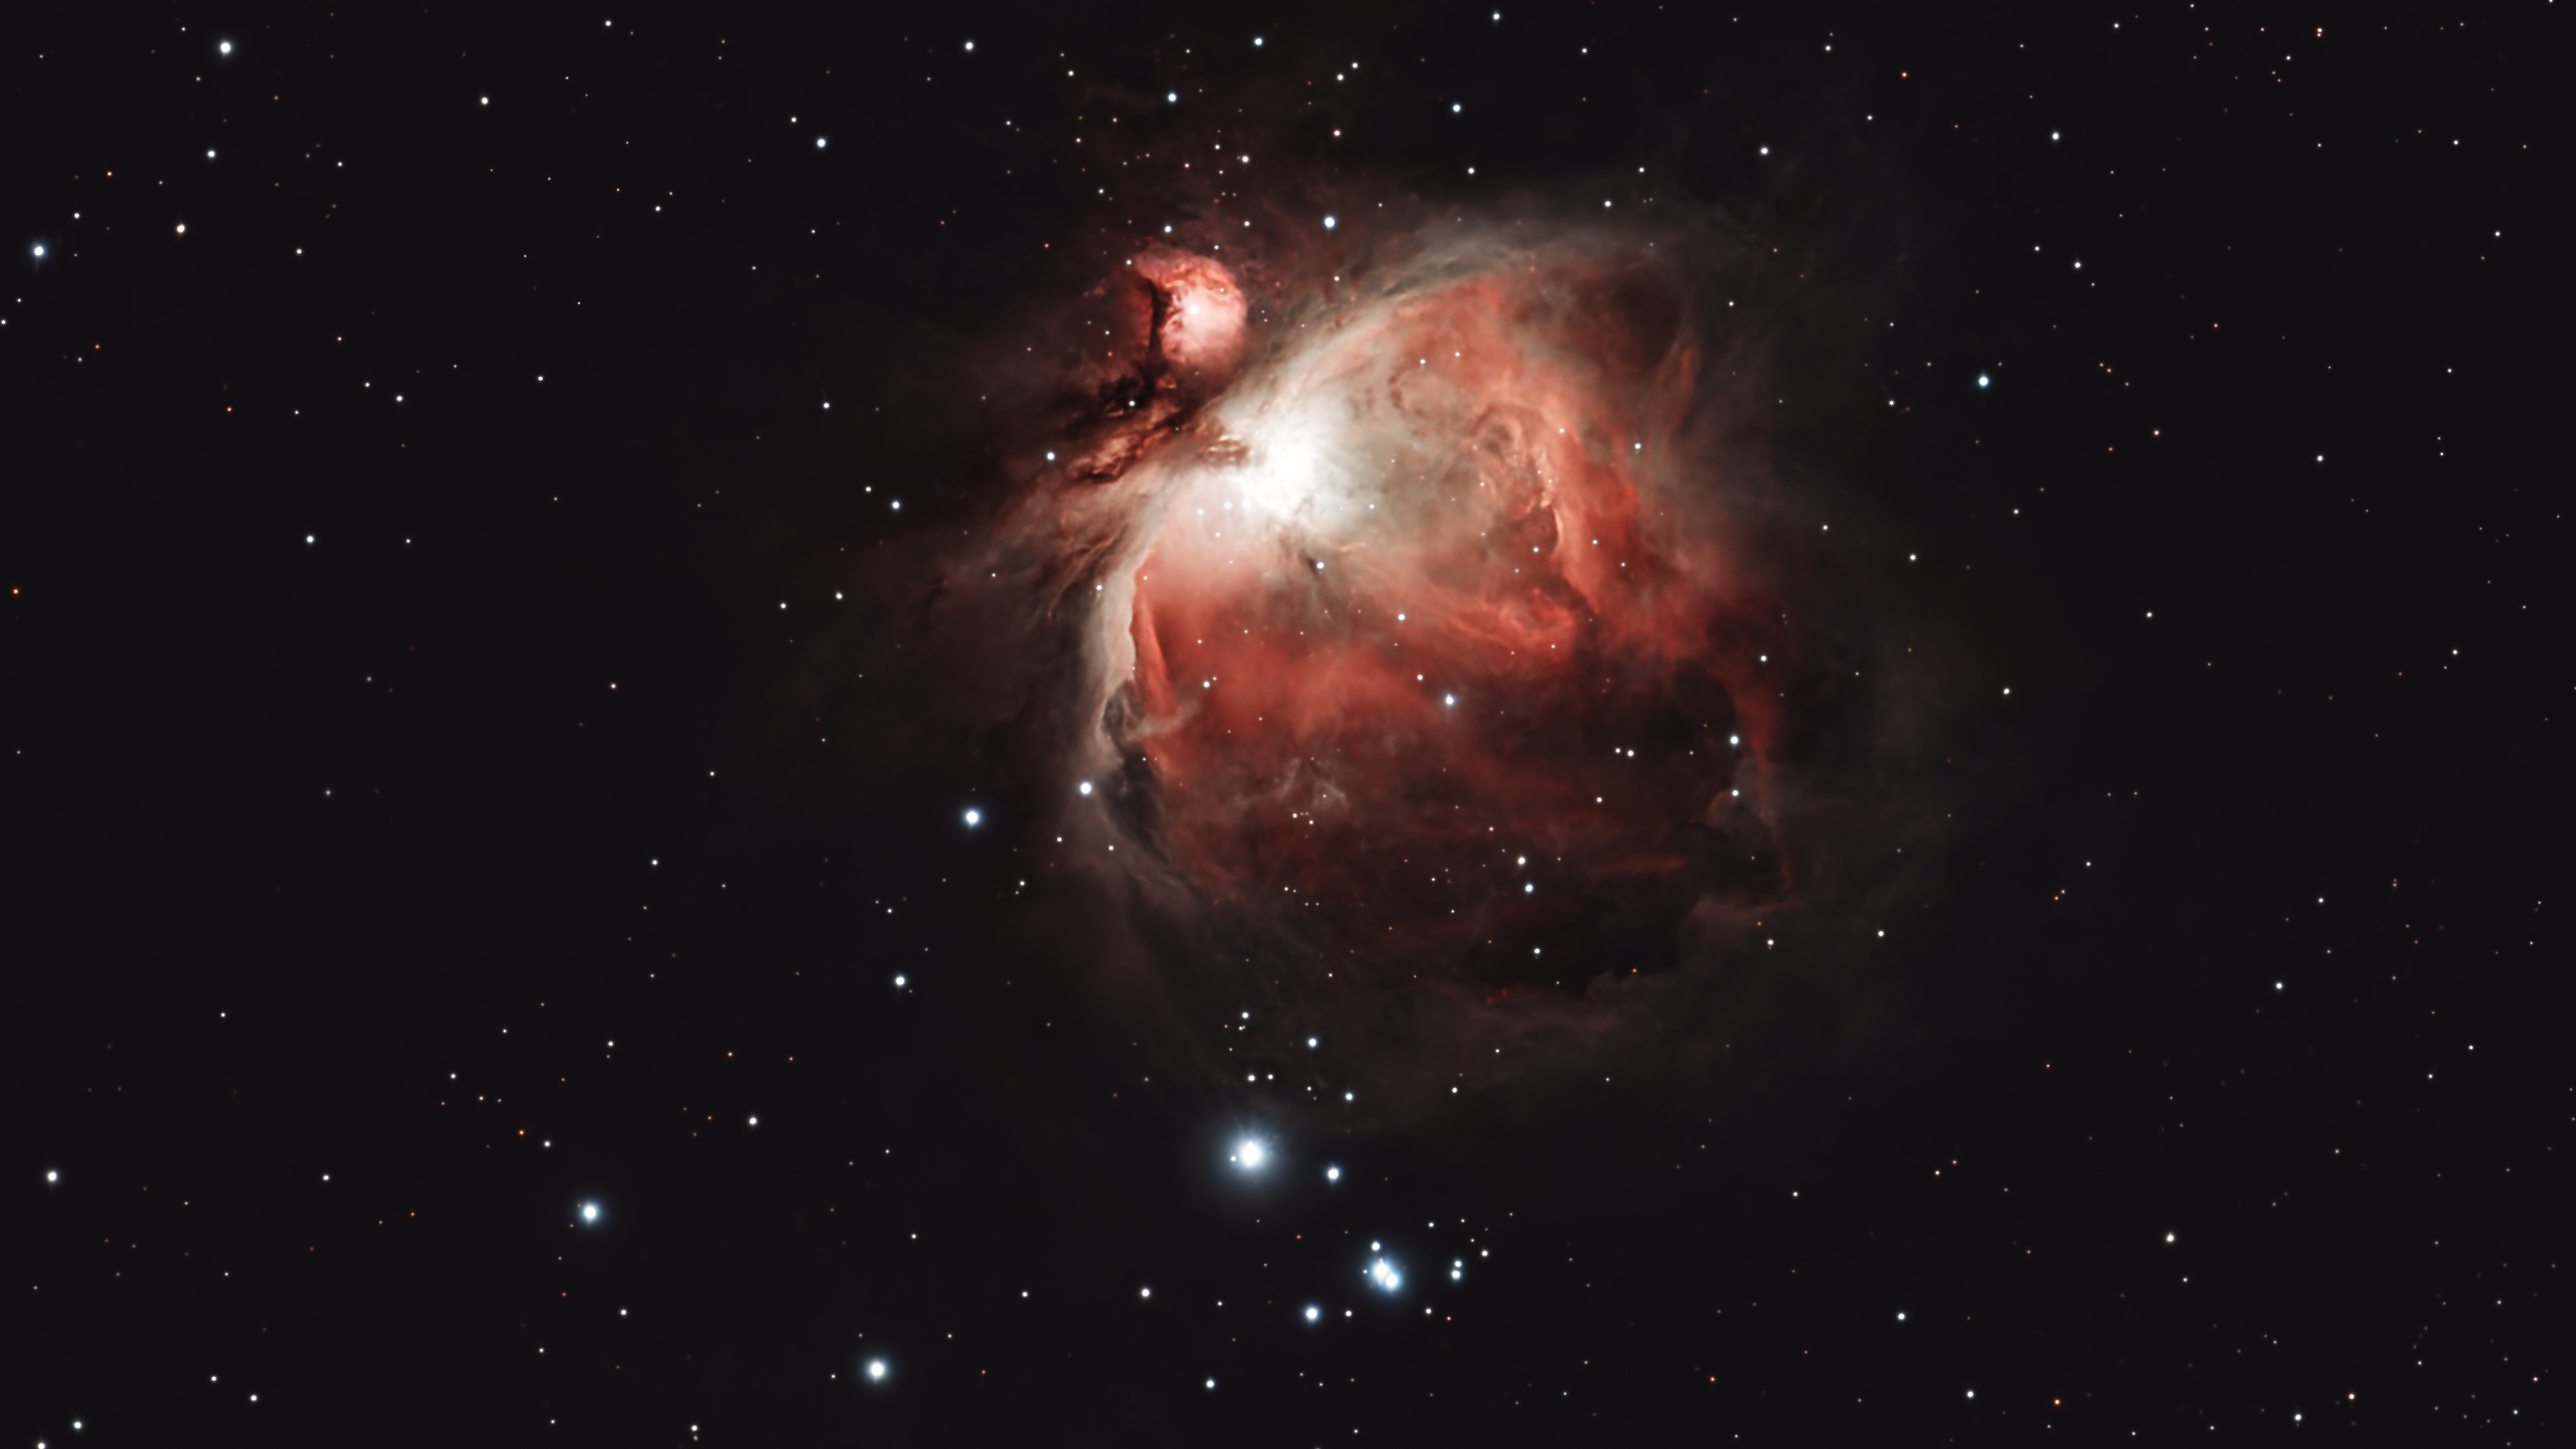
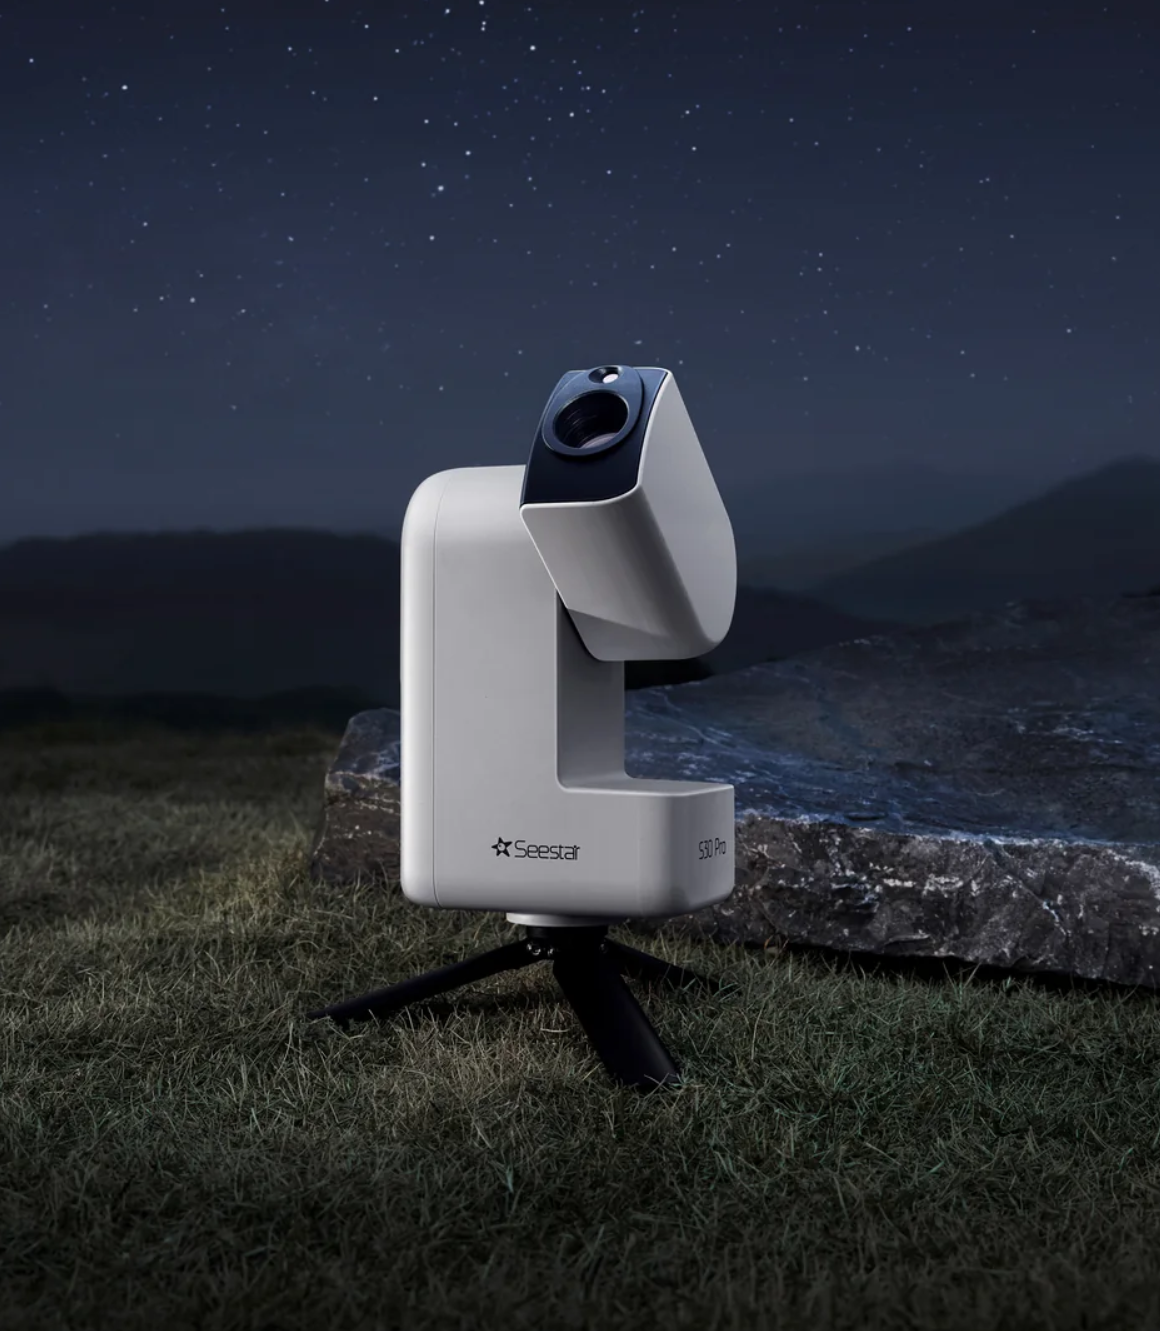
The images you see on this site are not single, simple photographs. Because deep-space objects are incredibly faint, often invisible to the naked eye, capturing them requires an "accumulation" of light over long periods. My Seestar S30 Pro telescope utilises a high-sensitivity Sony IMX585 sensor to record these distant photons.

Instead of taking one long photo (which would be ruined by satellites, wind, or tracking errors), I capture dozens of short exposures, typically between 10 and 60 seconds each. During this time, the telescope's on-board computer accurately tracks the object's movement across the sky, ensuring that the light hits the same pixels on the sensor for every frame. This phase of the project is a patient game of gathering as much raw data as possible.

Stage 2
Polar Axis & Geometric Precision (The Setup)

Polar Axis & Geometric Precision (The Setup)

To follow the stars across the sky without distortion, the telescope must be perfectly synchronized with the Earth’s rotation. I operate my equipment in Equatorial Mode, which means the telescope rotates around a single axis that points directly at the North Star (Polaris). For this to work accurately, the foundation must be a "perfect" starting point.

Before I begin imaging, I use a specialised Astro Essentials Leveling Base and a ZWO TH10 Fluid Head to ensure the mount is perfectly level relative to the horizon. Even a tiny physical tilt of just one or two degrees at the base will cause the telescope’s tracking arc to miss the stars' path, resulting in "trailed" or elongated stars. A perfectly level base means the telescope's motors can track with sub-pixel precision, keeping the distant object sharp and the stars perfectly round.

Stage 3
Integrating the Data (The Stack)

Integrating the Data (The Stack)

Once the observation is complete, I am left with dozens of individual raw files. At this stage, each photo is quite "noisy" and filled with digital grain and random artifacts generated by the camera sensor. I use open source software called Siril to perform a process known as Stacking (or Integration).

The software mathematically aligns every star in every photo and then calculates the average value for every single pixel. Because the digital noise is random but the light from the object is constant, the noise cancels itself out during the averaging. This results in a single "Master" image that is remarkably smooth and contains a much higher level of detail than any single frame could provide.

Stage 4
Histogram Transformation (The Stretch)

Histogram Transformation (The Stretch)

Even after the stacking process is complete, the resulting master image usually appears almost entirely black to the human eye. This is because the camera records the light in a "Linear" format meaning the data is mathematically accurate, but it is all compressed into the deepest shadows of the digital file.

To reveal the hidden detail, I perform a Histogram Transformation, commonly referred to as "Stretching." Using non-linear mathematical curves, I carefully re-map the brightness levels of the data. This process expands the faint, low-signal information (a nebula, for example) into a visible range while ensuring the brightest areas (the star cores) don't become overexposed. This is the critical moment where the true colours and complex structures of the deep-space object are revealed.

Stage 5
Algorithmic Separation (Star Removal)

Algorithmic Separation (Star Removal)

One of the most complex challenges in processing an object (a nebula, for example) is the presence of thousands of stars. Because stars are significantly more luminous than the surrounding gas, any attempt to sharpen or brighten the object would cause the stars to "bloat" and dominate the frame.

To prevent this, I use a mathematical process to separate the image into two distinct data layers. By identifying the specific Point Spread Function (the shape and brightness) of the stars, the software can algorithmically subtract them from the image. This leaves me with a "Starless" layer containing key detail of the object and a "Stars-Only" layer. By isolating the data in this way, I can refine the delicate textures of the object without affecting the stars, or vice versa.

Stage 6
Multi-Bandpass Refinement (Affinity Photo)

Multi-Bandpass Refinement (Affinity Photo)

The isolated data layers are then moved into Affinity Photo for refinement. Here, I apply a series of filters to enhance the fine details of the target:

  • Structural Sharpening: I use "High Pass" and "Bandpass" filters to target specific spatial frequencies within the image. This enhances the local contrast of faint structures, whether they are the spiral arms of a galaxy, the core of a cluster, or subtle cosmic dust, giving the object depth without adding noise.
  • Star Management: On the stars-only layer, I can precisely control the intensity and size of the star points. If the tracking drift caused any slight elongation, I use a "Darken and Nudge" technique, a manual process of blending layers to restore the stars to mathematically perfect, round circles.
  • Color Calibration: I adjust the colour channels to ensure the final image reflects the true physical nature of the object. This involves balancing the data to reveal the subtle colour variations of the object.
Stage 7
Final Refinement & Export

Final Refinement & Export

The final step is the Recombination of the processed layers. Using a "Screen" or "Linear Dodge" blend mode, laying the refined star field back over the enhanced nebula. This merges the two datasets into a single, cohesive image where stars are sharp and the object's intricate details are fully visible.

The final image is then exported into a web-ready format. I save a lossless master for my records and a high-resolution version for the gallery.

© 2026 • dm-astro.uk • Astrophotography Archive